
Is your old kitchen countertop looking worn out or outdated? You don’t have to spend a fortune to give it a fresh, new look.
Imagine transforming your kitchen without tearing everything apart or breaking the bank. You’ll discover simple, budget-friendly ways to cover up that tired countertop and make your kitchen feel brand new. Ready to learn how to save money and boost your home’s style?
Keep reading—you’re closer than you think to the kitchen makeover you’ve been wanting.
Prep Your Countertop
Preparing your old kitchen countertop before covering it up is key to achieving a smooth, lasting finish without breaking the bank. Skipping this step can lead to peeling, bubbling, or uneven surfaces that ruin your efforts. Taking the time to clean, repair, and sand your countertop sets a solid foundation for whatever covering material you choose.
Clean And Clear Surface
Start by removing every trace of dirt, grease, and grime from your countertop. Use a strong degreaser or a mix of warm water and dish soap to wipe down the entire surface thoroughly. Don’t forget to rinse with clean water and dry it completely—any leftover residue can prevent new materials from sticking properly.
Repair Minor Damages
Look closely for small cracks, chips, or dents that could show through your new covering. Use a countertop filler or epoxy putty to fill these imperfections. After it dries, smooth the area with a putty knife or scraper—this ensures a flat and even base that won’t create bumps later on.
Sand For Better Adhesion
Sanding your countertop might seem like extra work, but it’s essential. It roughens the surface just enough to help paint, adhesive, or tiles stick better. Use medium-grit sandpaper (around 120 grit), and sand in circular motions; then wipe away the dust with a damp cloth. Have you ever tried applying something new without sanding first? The difference in durability is striking.

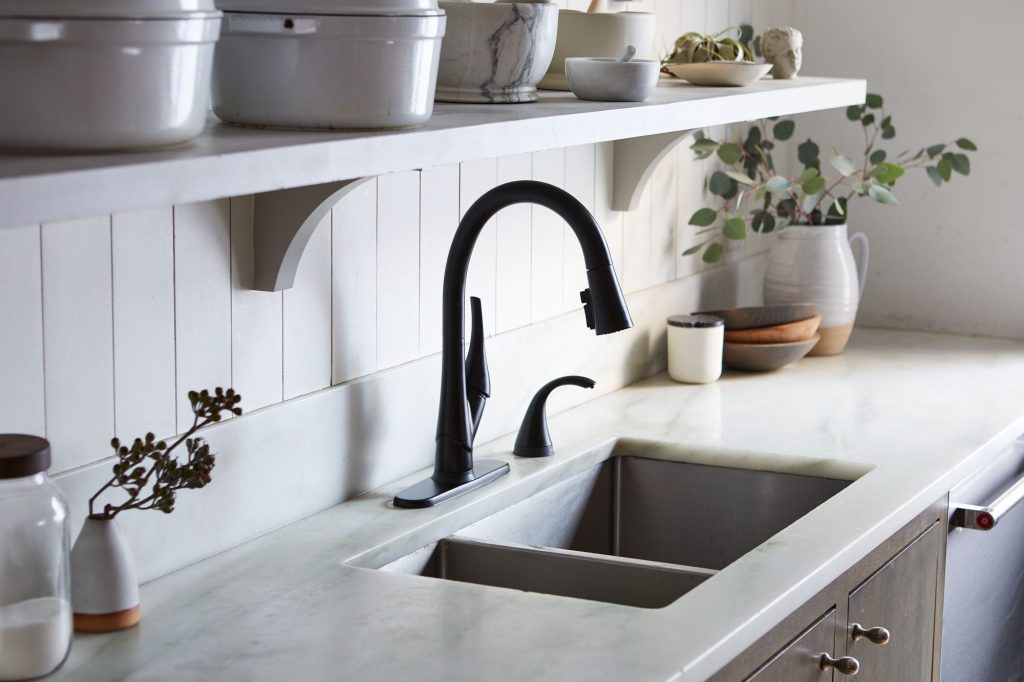
Credit: designingvibes.com
Peel And Stick Options
Peel and stick options offer a quick and affordable way to refresh old kitchen countertops. These products are easy to apply and remove, making them perfect for renters or anyone avoiding permanent changes. They come in many styles, textures, and colors to match different kitchen themes.
Peel and stick materials require no special tools. Just clean the surface, measure, cut, and stick. These options save time and money compared to full countertop replacement.
Vinyl Wraps
Vinyl wraps are flexible sheets that adhere directly to countertops. They mimic natural materials like wood, marble, or granite. Their smooth finish is water-resistant and easy to clean.
Vinyl wraps can cover scratches and stains effectively. They come in various thicknesses, offering durability and a modern look. Installation takes less than an hour for most kitchens.
Contact Paper Designs
Contact paper is a thin adhesive film with many patterns and colors. It is budget-friendly and widely available. It works best on smooth, flat surfaces.
Peeling and sticking contact paper is simple. Use a ruler or squeegee to avoid air bubbles. Changing the design is easy and leaves no residue.
Tile Stickers
Tile stickers transform old tile countertops into fresh designs. They come in shapes like squares, hexagons, and mosaics. Many imitate ceramic or stone tiles.
Tile stickers resist heat and moisture, ideal for kitchen use. They are great for covering grout lines and chipped tiles. Removing or replacing them requires no grout work.
Paint Techniques
Painting is an affordable and creative way to cover old kitchen countertops. It refreshes the look without removing the old surface. Using the right paint and technique ensures a smooth, long-lasting finish. This section explains how to choose paint, apply it step by step, and seal it properly for durability.
Choose The Right Paint
Select paint made for countertops or high-traffic surfaces. Epoxy or acrylic paints work well. They resist water, stains, and scratches. Look for paints labeled “kitchen-safe” or “countertop paint.” Avoid regular wall paint; it wears off quickly. Pick a color that matches your kitchen style and hides imperfections.
Step-by-step Painting Guide
- Clean the countertop thoroughly. Remove grease and dirt.
- Sand the surface lightly to help paint stick.
- Wipe off sanding dust with a damp cloth.
- Apply a primer suitable for the countertop material.
- Let the primer dry completely.
- Use a brush or roller to apply the paint evenly.
- Apply multiple thin coats rather than one thick coat.
- Allow each coat to dry before adding the next.
- Check for any uneven spots and smooth them out.
Sealing For Durability
Seal the painted countertop to protect it from damage. Use a clear, water-resistant sealer made for kitchen surfaces. Polyurethane or epoxy sealers provide a tough finish. Apply at least two coats, allowing drying time in between. This step keeps paint from chipping and staining. Maintain the sealer by cleaning with gentle cleaners only.
Use Laminate Sheets
Laminate sheets offer a budget-friendly way to refresh old kitchen countertops. They are easy to cut and stick, creating a smooth, clean surface quickly. Choose a pattern that matches your kitchen style for a fresh new look.
Transform your kitchen with laminate sheets. They’re affordable and stylish. Laminate sheets can refresh your old countertop. They offer numerous patterns and colors. Easy installation makes them a popular choice. Let’s dive into the steps for using laminate sheets.Selecting Laminate Patterns
Choosing the right pattern is crucial. Think about your kitchen’s style. Do you want a modern look? Or a classic touch? Laminate comes in many designs. Marble, wood, and stone are popular options. Visit a local store for samples. Feel the texture. See the colors in natural light. This helps in making a decision.Cutting And Applying Laminate
Measure your countertop accurately. Double-check your measurements. Use a pencil to mark the laminate sheet. You’ll need a utility knife or saw. Cut along the marked lines carefully. Ensure the edges are smooth. Apply adhesive to the countertop. Press the laminate sheet on top. Start from one side. Use a roller to remove air bubbles. Let it set for a few hours.Finishing Touches
Trim excess laminate with a sharp blade. Smooth the edges with sandpaper. Check for any gaps or bubbles. Fill small gaps with caulk. Seal the edges to prevent moisture. This adds durability. Clean the surface with a soft cloth. Your countertop now looks brand new. Enjoy your revamped kitchen space.Temporary Cover Solutions
Transforming your kitchen doesn’t have to be an expensive or permanent affair. Temporary cover solutions offer a practical way to refresh your old countertops without breaking the bank. These solutions are perfect if you’re renting, working on a budget, or just love changing your decor often. Let’s dive into some creative and affordable ways to give your kitchen a fresh look.
Removable Mats And Covers
Removable mats and covers are a fantastic way to breathe new life into your countertops. They come in various materials like vinyl and silicone, offering a range of styles and colors. You can easily switch them out to match your mood or the season.
Installation is a breeze—simply lay them over your existing countertops. No adhesives mean no sticky residue, making them perfect for renters. Imagine having a kitchen that feels brand new in just a few minutes!
Using Large Trays And Boards
Large trays and boards can serve as both functional and decorative elements on your countertops. They are excellent for covering larger areas and can instantly change the vibe of your kitchen. A well-chosen tray or board can act as a focal point, drawing attention away from outdated surfaces.
Consider using wooden cutting boards or chic metal trays. They add a touch of elegance and are incredibly practical for food prep and serving. Have you thought about incorporating a large marble slab? It’s a stylish solution that offers a luxurious feel without the hefty price tag.
Temporary solutions like these not only save you money but also offer flexibility and ease of use. What’s your favorite way to refresh your kitchen on a budget?

Credit: food52.com
Creative Cover Ideas
Covering up an old kitchen countertop can be a fun and budget-friendly project if you get a little creative. Instead of rushing to replace your entire surface, consider some unique ideas that add character and freshness without a huge expense. These creative covers can transform your space quickly, making it look updated and inviting.
Decorative Tiles
Decorative tiles offer a colorful and customizable way to cover your old countertop. You can choose from ceramic, glass, or peel-and-stick tiles depending on your skill level and budget.
Peel-and-stick tiles are especially handy—they’re easy to apply and remove, making them perfect if you want a temporary makeover. Plus, mixing different patterns or colors can give your kitchen a lively, personal touch.
Have you thought about using leftover tiles from another project? It’s a great way to save money and create a mosaic that’s truly one-of-a-kind.
Chalkboard Paint
Chalkboard paint turns your countertop into a writable, erasable surface. It’s not only practical but also adds a playful element to your kitchen.
You can jot down grocery lists, meal plans, or even doodle while cooking. This idea works best on smooth countertops and requires just a few coats of paint.
Imagine having your kids write messages or recipes right on the counter—doesn’t that make your kitchen feel more personal and interactive?
Fabric Covers
Fabric covers are an unexpected but effective way to hide worn countertops. Choose a durable, water-resistant fabric and secure it tightly over the surface.
This method allows you to easily change the look whenever you want, and it’s perfect for renters or those who like frequent updates. To protect the fabric, consider adding a clear vinyl layer on top.
Think about patterns or textures that complement your kitchen’s style—would a floral print or a bold geometric design suit your space better?
Tools And Materials Needed
Covering an old kitchen countertop cheaply needs the right tools and materials. These help you work fast and get a good result. Preparing well saves money and effort.
Choose tools that are easy to use and materials that fit your budget. The list below shows what you need for a simple countertop makeover.
Basic Tools
- Screwdriver – to remove old fixtures or hardware.
- Sandpaper – for smoothing rough surfaces.
- Measuring tape – to get exact dimensions.
- Utility knife – for cutting materials precisely.
- Paintbrush or roller – to apply paint or adhesive.
- Putty knife – to spread filler or adhesive evenly.
- Clamps – to hold materials in place while drying.
Materials For Covering
- Peel-and-stick vinyl or contact paper – budget-friendly and easy to apply.
- Laminate sheets – durable and come in many styles.
- Countertop paint kit – for a fresh, clean look.
- Wood veneer – if you want a natural wood finish.
- Adhesive or contact cement – to secure coverings.
- Filler putty – for repairing chips or cracks before covering.
- Clear sealant – protects the new surface from damage.
Tips For Long-lasting Results
Keeping your newly covered kitchen countertop looking fresh and durable requires more than just a one-time effort. Small habits and careful attention can greatly extend the life of your makeover. Let’s dive into practical tips that help your countertop stay beautiful and functional over time.
Maintenance And Cleaning
Regular cleaning is key to preserving your countertop’s appearance. Use mild soap and warm water instead of harsh chemicals that can wear down surfaces or finishes.
Wipe spills immediately to prevent stains or damage. For example, acidic substances like lemon juice or vinegar can dull paint or peel adhesives if left too long.
- Use a soft cloth or sponge to avoid scratching.
- Dry the surface after cleaning to prevent moisture buildup.
- Consider applying a sealant or protective coating recommended for your specific covering material.
Avoiding Common Mistakes
Many people rush the process or skip important steps, which can shorten the life of your countertop cover. Take your time to ensure proper adhesion and curing of any paint, adhesive film, or coating.
Don’t place hot pots or pans directly on the surface unless it’s heat-resistant. This can cause bubbling or peeling.
Also, avoid cutting directly on the new surface. Use cutting boards to prevent scratches and chips.
- Test cleaning products on a small hidden spot first.
- Follow manufacturer instructions for any covering materials closely.
- Keep heavy items from dragging across the surface to avoid scratches.
Have you noticed how small changes in daily care can make a big difference in durability? Paying attention to these details can save you time and money on repairs later.

Credit: designingvibes.com
Frequently Asked Questions
How Can I Cheaply Cover Old Kitchen Countertops?
You can use peel-and-stick vinyl, contact paper, or paint kits. These options are affordable and easy to apply. They refresh your countertop without costly renovations or professional help. Choose materials that suit your kitchen style and durability needs.
What Materials Work Best For Covering Old Countertops?
Vinyl adhesive sheets, laminate overlays, and countertop paint kits work well. They are budget-friendly, easy to install, and provide good coverage. Each offers various colors and patterns to update your kitchen’s look quickly and affordably.
Can I Cover Countertops Without Professional Help?
Yes, many countertop covering methods are DIY-friendly. Peel-and-stick vinyl and paint kits require minimal tools and skills. Follow instructions carefully to ensure a smooth, lasting finish. This saves money and lets you customize your kitchen easily.
How Durable Are Diy Countertop Covers?
Durability depends on the material chosen and application quality. Vinyl and laminate covers resist scratches and stains but may wear over time. Proper surface prep and sealing improve longevity. These covers are ideal for low to moderate kitchen use.
Conclusion
Covering up an old kitchen countertop can save money and time. Simple materials like paint, contact paper, or tiles work well. Small changes make a big difference in your kitchen’s look. Choose a method that fits your budget and skills.
Enjoy a fresh, clean space without costly renovations. Try one of these ideas and see the change yourself. Your kitchen can look new again, easily and cheaply. Start today and make your kitchen more inviting.

Sophie Hartwell is the founder of KitchenQuik.com, where she shares kitchen tips, smart cooking hacks, and the best product picks to make everyday cooking easier and more enjoyable.


