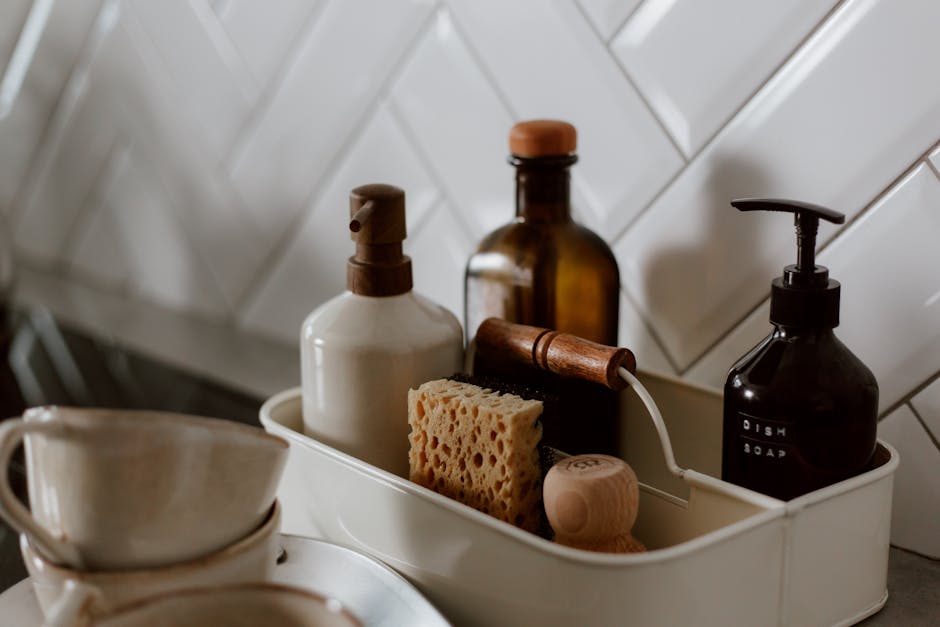
Are you tired of cluttered countertops and messy soap bottles? Installing a Moen kitchen soap dispenser can change the way you work in your kitchen, making your sink area cleaner and more efficient.
You don’t need to be a handyman to do it—this simple upgrade saves you time and keeps your kitchen looking sleek. In this guide, you’ll learn step-by-step how to install your Moen kitchen soap dispenser quickly and easily. Keep reading, and you’ll have a neat, convenient soap dispenser ready to use in no time!
Tools And Materials Needed
Before you start installing your Moen kitchen soap dispenser, gather all the necessary tools and materials. Having everything ready makes the process smooth and avoids frustrating interruptions. It also helps you work efficiently and prevents mistakes.
Essential Tools For Installation
- Adjustable wrench:Useful for tightening nuts and bolts securely without damaging them.
- Phillips screwdriver:Needed to fasten screws during assembly.
- Utility knife:Handy for trimming any excess tubing or packaging.
- Bucket or towel:To catch any water drips when disconnecting plumbing.
- Flashlight:Helps you see clearly under the sink, especially in tight or dark spaces.
Materials Included With Your Moen Soap Dispenser
- Soap dispenser pump:The part you press to dispense soap.
- Soap reservoir bottle:Holds the soap and sits underneath the sink.
- Mounting hardware:Usually includes washers and nuts to secure the dispenser to the sink.
- Tube connector:Connects the pump to the reservoir bottle.
Additional Supplies You Might Need
- Plumber’s putty or silicone sealant:Creates a watertight seal around the dispenser base.
- Extra soap:To fill the reservoir once installed. Choose your favorite dish soap or hand soap.
- Cleaning cloth:For wiping any spills during installation.
Have you checked your kitchen setup for any unique challenges? For example, some sinks have limited space or unusual hole sizes that may require extra adjustments. Preparing for these ahead saves time and hassle.
Preparing The Installation Area
Preparing the installation area is key to a smooth Moen kitchen soap dispenser setup. A clean and organized space helps avoid mistakes and speeds up the process. Take time to get everything ready before starting the installation.
Clearing The Workspace
Remove all items from the sink and countertop. Clear away dishes, cleaning supplies, and any clutter. This creates room to work and prevents accidents. Wipe the area clean to remove grease and dirt. A tidy workspace helps you focus and install the dispenser correctly.
Checking The Sink Compatibility
Inspect your sink to ensure it fits the soap dispenser. Look for a hole where the dispenser will go. Most Moen dispensers need a 1 1/8 inch hole in the sink or countertop. Measure the hole size with a ruler or tape measure. Confirm the hole is free from damage or rust. If your sink lacks a hole, plan to drill one carefully.
Assembling The Soap Dispenser
Assembling your Moen kitchen soap dispenser is a straightforward task that sets the foundation for a smooth installation. Knowing each part and how they come together helps prevent unnecessary frustration. Let’s break down the assembly process to make it quick and hassle-free.
Identifying The Components
Start by laying out all the parts on a clean surface. You should have:
- The soap bottle or reservoir
- The pump mechanism with a spring-loaded top
- The mounting nut
- The threaded shank (the long tube attached to the pump)
- A small washer or gasket (sometimes included for sealing)
Check each piece carefully. Missing even one can cause leaks or poor performance. Have you ever tried assembling something only to realize a tiny part was missing? That’s why this step matters.
Attaching The Pump Mechanism
Begin by inserting the threaded shank through the dispenser hole in your sink or countertop. Make sure the pump head sits flush on top. From underneath, slide on the washer if included, then screw on the mounting nut tightly by hand to secure the pump.
Next, attach the soap bottle by screwing it onto the threaded shank. Hand tighten it firmly to prevent leaks but avoid over-tightening, which can crack plastic parts. Finally, press the pump head a few times to prime it—this helps the soap flow smoothly when you use it.
Have you noticed how a loose connection can cause soap to leak or the pump to wobble? Taking a moment to ensure everything is snug will save you from future messes.
Installing The Dispenser Base
Installing the dispenser base is an important part of setting up your Moen kitchen soap dispenser. This step ensures the dispenser is stable and works properly. Take your time to place and secure the base correctly for a smooth soap flow.
Positioning The Base
Start by choosing a spot near your sink faucet. The hole in your countertop should match the dispenser base size. Insert the base into the hole from above the countertop. Make sure the base sits flat and does not wobble. Adjust the position so the pump head is easy to reach.
Securing With Mounting Nut
Under the sink, slide the mounting nut onto the dispenser shaft. Turn the nut clockwise to tighten it. Use your hand first, then a wrench for a firm fit. Avoid over-tightening to prevent damage to the countertop. Check the base again from above to confirm it is secure and stable.
Connecting The Soap Reservoir
Connecting the soap reservoir is a key part of installing your Moen kitchen soap dispenser. This step ensures the soap flows smoothly to the dispenser pump. Proper connection prevents leaks and makes refilling easy. Follow these simple instructions for a secure setup.
Inserting The Soap Bottle
Begin by placing the soap bottle under the sink. Align the bottle’s neck with the dispenser tube. Push the bottle upward gently until it fits snugly. Make sure the tube goes deep into the bottle. This allows the soap to reach the pump without blockages.
Tightening The Connection
Check the connection between the soap bottle and the dispenser tube. Twist the locking ring clockwise to secure the bottle. Tighten it enough to prevent leaks but avoid over-tightening. A firm connection keeps the soap flowing smoothly. Test by pressing the pump a few times to ensure soap dispenses properly.
Final Adjustments
After installing your Moen kitchen soap dispenser, the final adjustments are crucial to ensure everything works perfectly. These last steps help you avoid common issues like leaks or sticky pumps. Taking a few extra minutes now saves you from future headaches.
Checking For Leaks
Start by inspecting all connections carefully. Look under the sink where the dispenser attaches to the soap bottle and water line. Even a small drip can waste soap and cause damage over time.
Press the pump a few times to force soap through the system. Watch closely for any moisture around the fittings or hoses. If you spot a leak, tighten the connections gently with a wrench, but don’t overtighten—it can crack the fittings.
Have you noticed any soap puddles or water spots? That’s a clear sign to check again. Sometimes a quick wipe and re-tightening fix the problem instantly.
Ensuring Smooth Operation
Next, test the pump to make sure it operates smoothly without sticking or resistance. Press the dispenser several times to prime the system and get the soap flowing freely.
If the pump feels stiff or doesn’t return to its original position, the dispenser might need some adjustment. Try loosening the mounting nut slightly to relieve pressure, or check that the pump isn’t clogged with dried soap.
Consider the angle at which you press the pump—straight down is best. Have you noticed any wobbling? Securing the dispenser firmly can prevent this and make daily use more comfortable.
Maintenance Tips
Maintaining your Moen kitchen soap dispenser ensures it works smoothly and lasts longer. Simple care routines prevent clogs and keep the pump fresh. Let’s look at easy ways to keep your dispenser in top shape.
Cleaning The Dispenser
Soap residue can build up inside the dispenser, causing it to clog or pump slowly. Clean it regularly by rinsing the pump and tube with warm water. You can soak the pump in a mixture of warm water and vinegar for 10-15 minutes to break down any stubborn soap buildup.
After soaking, pump clean water through the dispenser to flush out any loosened debris. Don’t forget to wipe the outside with a damp cloth to remove soap spots or fingerprints. How often you clean depends on your soap type; thicker soaps may need more frequent rinsing.
Refilling The Soap
Refilling your Moen soap dispenser is straightforward but requires attention to avoid spills or air bubbles. Always use liquid soap that’s designed for soap dispensers—thicker gels can clog the pump. Unscrew the dispenser top slowly to prevent drips.
Pour the soap carefully into the reservoir, leaving some space at the top to avoid overflow when replacing the pump. After refilling, press the pump a few times to prime it. This helps remove any trapped air and gets the soap flowing immediately.
Have you noticed your soap dispenser acting sluggish after refills? It might be time to check for air bubbles or leftover residue blocking the pump. Keeping these tips in mind will save you time and frustration during daily kitchen tasks.
Frequently Asked Questions
How Do I Install A Moen Kitchen Soap Dispenser?
Start by removing the old soap dispenser if needed. Insert the Moen dispenser into the sink hole. Secure it underneath with the mounting nut. Attach the soap bottle and pump. Fill with soap and test the pump for smooth operation.
What Tools Are Needed To Install Moen Soap Dispenser?
You will need a screwdriver, adjustable wrench, and plumber’s putty. These tools help secure the dispenser and ensure a watertight seal. Sometimes, a towel is useful to clean up spills during installation.
Can I Install Moen Soap Dispenser Without A Pre-drilled Hole?
No, a hole is required for installation. Most sinks have a designated hole for accessories. If your sink lacks a hole, you must drill one or consult a professional plumber before installation.
How Do I Refill The Moen Kitchen Soap Dispenser?
Simply unscrew the pump head from the top. Pour liquid soap into the dispenser bottle. Avoid overfilling to prevent spillage. Screw the pump head back securely and test the dispenser.
Conclusion
Installing a Moen kitchen soap dispenser is simple and quick. Follow each step carefully to avoid mistakes. Double-check all connections for leaks before finishing. Enjoy the convenience of having soap right at your sink. This small upgrade makes kitchen work easier every day.
Keep the dispenser clean to ensure it works well. Now, you can add this handy tool with confidence.

Sophie Hartwell is the founder of KitchenQuik.com, where she shares kitchen tips, smart cooking hacks, and the best product picks to make everyday cooking easier and more enjoyable.
