
Are you thinking about upgrading your kitchen by adding a wall oven but worried it might be too complicated? Installing a wall oven in your existing kitchen can seem like a big project, but with the right guidance, you can make it happen smoothly.
Imagine having your oven at eye level, making cooking easier and your kitchen looking modern and stylish. You’ll discover simple steps and expert tips to help you install a wall oven without the usual stress. Keep reading, and you’ll soon feel confident to transform your kitchen for good.
Choosing The Right Wall Oven
Choosing the right wall oven is a crucial step when upgrading your kitchen. It affects not only the cooking experience but also the overall look and functionality of your space. Picking an oven that fits well and suits your cooking style can save you a lot of hassle and improve daily convenience.
Size And Space Considerations
Start by measuring the space available in your kitchen. Wall ovens come in various sizes, typically 24, 27, or 30 inches wide. Knowing your exact wall cavity dimensions helps avoid surprises during installation.
Think about the clearance needed around the oven for ventilation and safety. If your kitchen is compact, a smaller oven might be the better choice to keep the room feeling open. Have you checked if your cabinet can support the oven’s weight and electrical requirements?
Also, consider the height at which the oven will be installed. Placing it at eye level can make it easier to monitor food without bending. But if you have kids or mobility issues, you might want to adjust the height accordingly.
Features And Functions To Look For
Modern wall ovens offer a range of features that can enhance your cooking. Look for convection settings if you want faster and more even baking. Some models include self-cleaning options, saving you time on maintenance.
Think about your cooking habits. Do you often roast large meals? A dual oven might be useful. Or if you enjoy trying new recipes, smart ovens with app controls and pre-set modes can help you experiment with ease.
Energy efficiency is another factor to weigh. An oven with an Energy Star rating can reduce electricity bills over time. What features do you value the most in your current oven, and which ones are missing?
Gathering Necessary Tools And Materials
Gathering the right tools and materials is the first step to install a wall oven safely. Having everything ready saves time and prevents interruptions during the project. Proper tools help achieve a neat and secure fit for the oven. Materials support the oven’s weight and ensure electrical connections are safe and reliable.
Essential Tools
- Power drill with various drill bits
- Stud finder to locate wall supports
- Measuring tape for precise dimensions
- Level to keep the oven straight
- Jigsaw or reciprocating saw to cut wall openings
- Screwdrivers, both flathead and Phillips
- Wire stripper and cutter for electrical work
- Safety goggles and gloves for protection
- Voltage tester to check electrical circuits
Additional Materials
- Wall oven installation kit (brackets, screws)
- Electrical wiring and connectors suitable for the oven
- Drywall patch materials for finishing cuts
- Insulation materials if needed for heat protection
- Caulk or sealant to close gaps around the oven
- Electrical box if a new connection point is required
- Wood supports or shims for stable mounting
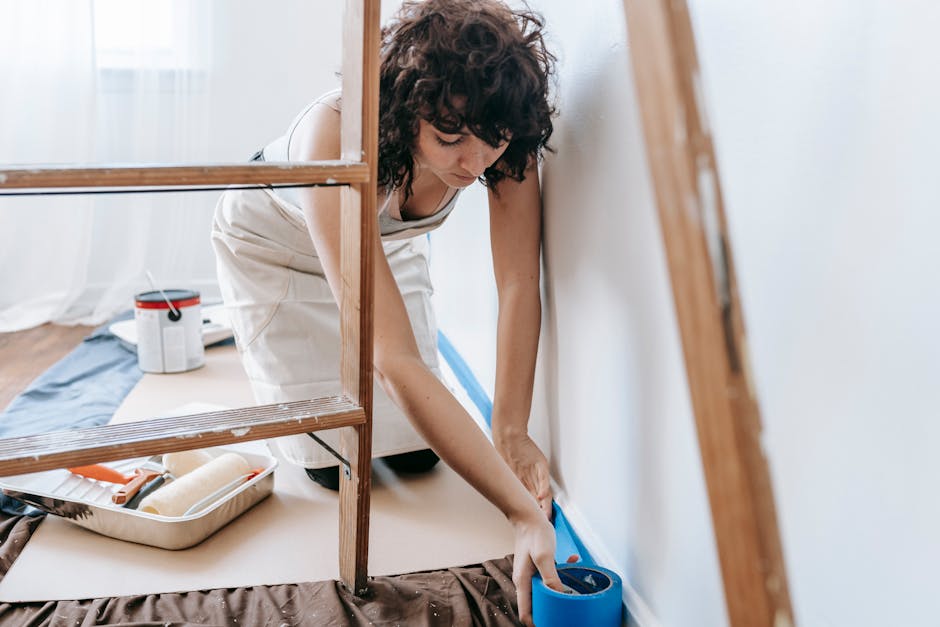
Preparing The Installation Area
Preparing the installation area is a crucial step before putting a wall oven into your existing kitchen. It sets the foundation for a smooth and safe installation process. Taking the time to get this right can save you from costly mistakes and ensure your oven fits perfectly.
Measuring The Space
Start by measuring the height, width, and depth of the spot where you want to install the oven. Use a tape measure and write down the exact dimensions.
Check the manufacturer’s specifications for the oven’s required cutout size. Remember, your opening needs to be slightly larger to allow for ventilation and ease of installation.
Double-check corners and any trim that might reduce the available space. Have you ever tried fitting something only to realize the space was just a bit too small? Avoid that frustration now.
Ensuring Proper Ventilation
Wall ovens produce heat that needs to escape to prevent damage and maintain efficiency. Plan for proper airflow around the oven by leaving gaps as specified by the oven’s manual.
Look for nearby vents or openings and consider installing additional ventilation if your kitchen layout is tight. Even a small vent can make a big difference in performance and safety.
Ask yourself: is the installation area close to combustible materials or enclosed too tightly? Addressing ventilation early protects your kitchen and your investment in the oven.
Removing The Old Oven
Removing the old oven is a key part of installing a wall oven in your kitchen. It requires care and attention to avoid damage and ensure safety. Preparing the space properly helps the new oven fit perfectly. The process begins with safety measures and moves to disconnecting electrical parts. Follow each step carefully to make the job smooth and safe.
Safety Precautions
Turn off the power supply to the oven at the circuit breaker. Use a voltage tester to confirm no electricity flows to the appliance. Wear gloves to protect your hands from sharp edges and heat. Clear the area around the oven to avoid tripping hazards. Keep children and pets away during removal. Have a helper ready to assist with lifting the oven safely.
Disconnecting Electrical Connections
Locate the oven’s electrical junction box, usually behind or below the unit. Remove the cover plate carefully to access the wires. Take a photo of the wiring setup for reference. Unscrew the wire nuts and separate the wires gently. Use electrical tape on exposed wire ends for safety. Ensure all wires are free before pulling the oven out of its cavity. Handle the oven slowly to avoid damaging the wiring or surrounding cabinets.
Installing The New Wall Oven
Installing the new wall oven is an exciting part of upgrading your kitchen. It’s where all the preparation pays off, and you finally see your vision come to life. Taking the time to do it right ensures your oven fits securely and functions perfectly for years to come.
Positioning The Oven
Begin by carefully sliding the oven into the cabinet opening. Make sure the oven sits flush with the surrounding cabinetry to create a clean, seamless look. Double-check that the oven’s height aligns with your kitchen workflow—too high or too low can make cooking uncomfortable.
Keep an eye on the electrical connections. Ensure the power cord or hardwired connection isn’t pinched or strained as you position the oven. You want easy access to the controls and a clear view inside once it’s installed.
Securing The Oven In Place
Once positioned, secure the oven to the cabinet using the mounting brackets provided. These brackets prevent the oven from shifting during use or when the door is opened. Use a drill and screws, but don’t overtighten; you want the oven snug but not damaged.
Check stability by gently rocking the oven. If it moves, adjust the screws or brackets until it feels solid. Finally, reconnect any electrical components and test the oven to confirm everything works smoothly before finishing up.
Connecting Electrical Wiring
Connecting electrical wiring is a crucial part of installing a wall oven in your existing kitchen. It’s not just about plugging in the appliance; it involves making sure the wiring can safely handle the oven’s power needs. Getting this right ensures your oven works efficiently without risking electrical hazards.
Understanding Wiring Requirements
Before you start, check the oven’s manual for its electrical specifications. Most wall ovens require a dedicated circuit with a specific amperage, often 30 amps, and use a 240-volt connection.
Your kitchen’s existing wiring might not meet these demands. Look for a properly rated circuit breaker and wiring gauge—usually 10-gauge wire for a 30-amp circuit. If your current setup doesn’t match, you’ll need to upgrade the wiring or add a new circuit.
Have you inspected your electrical panel lately? Identifying the right breaker and ensuring it’s free for the new circuit can save headaches later. Also, consider local electrical codes—they often dictate how the wiring should be done and may require a permit or professional inspection.
Testing Electrical Connections
Once wiring is connected, testing is essential to confirm everything works safely. Use a multimeter to check voltage at the outlet or terminal connections. You should see a steady 240 volts between the two hot wires and zero volts between each hot wire and ground.
Don’t forget to test the ground wire connection as well. A poor ground can cause shocks or damage your oven’s electronics. If you find any irregularities, double-check your wiring connections and ensure all wires are tightly secured with no exposed copper.
Safety tip: Always turn off the power at the breaker before handling wiring. If you’re uncertain about testing or wiring, consulting a licensed electrician is the safest choice. Have you ever encountered a wiring issue that turned out to be something simple but easy to overlook? Testing helps catch those early.
Final Adjustments And Testing
Final adjustments and testing ensure your wall oven fits perfectly and works safely. This step guarantees smooth operation and a clean look. Careful attention here avoids future issues and enhances kitchen efficiency.
Leveling The Oven
Check if the oven sits flat inside the cabinet opening. Use a spirit level on the oven’s top and sides. Adjust the oven feet or mounting brackets until the bubble centers in the level. This prevents uneven cooking and door alignment problems. Tighten all screws after leveling to keep the oven stable.
Conducting A Test Run
Power on the oven and set it to a low temperature first. Listen for unusual noises or vibrations. Check that the oven heats evenly by placing an oven thermometer inside. Test the door seal by closing it and feeling for gaps. Try all oven functions like bake, broil, and timer. Confirm the control panel lights and buttons respond correctly.
Maintaining Your Wall Oven
Maintaining your wall oven keeps it working well and safe. Regular care helps avoid costly repairs and extends the oven’s life. A clean oven cooks food better and prevents bad smells.
Regular Cleaning Tips
- Wipe spills immediately with a damp cloth.
- Use mild soap and water to clean the oven interior.
- Avoid harsh chemicals that can damage surfaces.
- Clean oven racks separately with warm, soapy water.
- Check and clean the door seal to keep heat inside.
- Use the self-cleaning function if your oven has one, following the manual.
- Clean the exterior with a soft cloth and gentle cleaner.
Troubleshooting Common Issues
- Oven not heating: Check power supply and circuit breaker.
- Uneven cooking: Inspect heating elements for damage or dirt.
- Oven door won’t close properly: Clean the door gasket and hinges.
- Display or controls not working: Reset the oven by unplugging it for a few minutes.
- Strange noises: Tighten loose parts or call a professional if sounds persist.
- Oven smells bad: Clean spills and run a baking soda solution inside.
Frequently Asked Questions
What Tools Are Needed To Install A Wall Oven?
You need a stud finder, drill, screwdriver, level, measuring tape, and electrical tester. These tools help ensure safe and precise installation of your wall oven.
How To Prepare Kitchen Wall For A Wall Oven?
Measure the oven space accurately. Turn off power, remove existing cabinets if needed, and ensure electrical connections meet oven specifications before installation.
Can I Install A Wall Oven Without Professional Help?
Yes, if you have basic electrical and carpentry skills. Follow the manufacturer’s instructions closely and ensure power is off for safety.
What Electrical Requirements Are Needed For Wall Oven Installation?
Wall ovens typically require a dedicated 240-volt circuit. Check your oven’s manual for specific amperage and wiring needs to ensure proper and safe operation.
Conclusion
Installing a wall oven in your kitchen can improve cooking space and style. Follow each step carefully to avoid mistakes. Measure your space well before buying the oven. Use the right tools and safety gear during installation. Take your time and ask for help if needed.
Enjoy the new look and convenience of your kitchen. A well-installed wall oven makes cooking easier and faster. Keep these tips in mind for a smooth process. Your kitchen will feel fresh and modern with the new oven.

Sophie Hartwell is the founder of KitchenQuik.com, where she shares kitchen tips, smart cooking hacks, and the best product picks to make everyday cooking easier and more enjoyable.


